
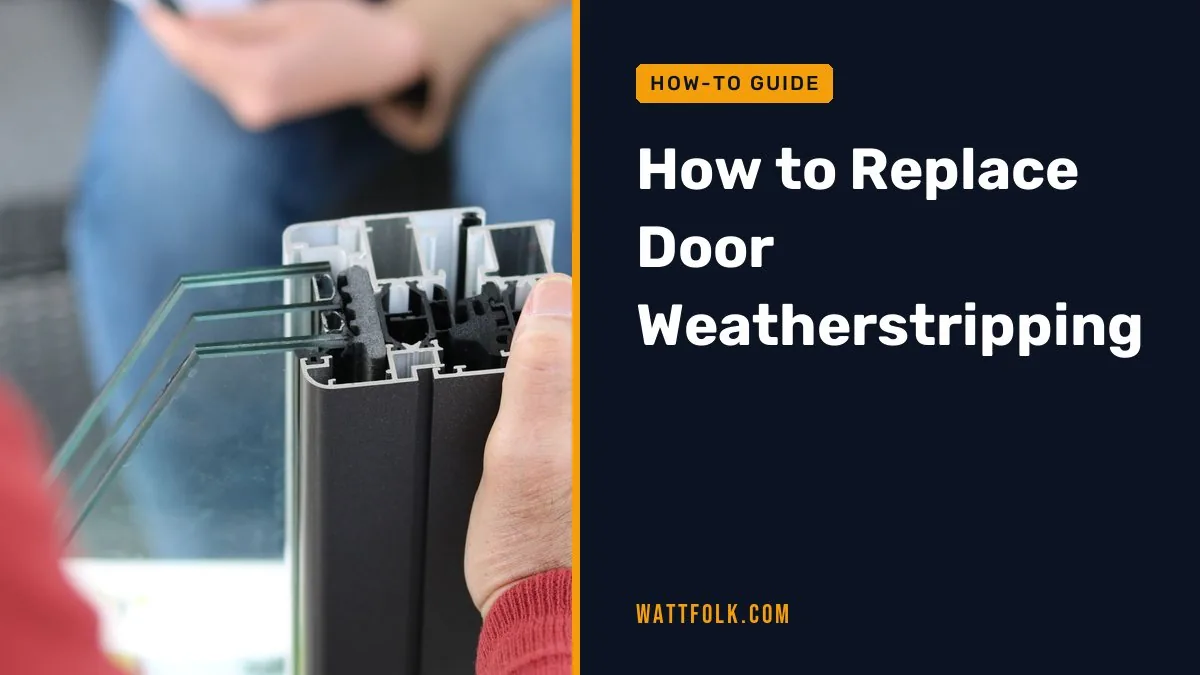
Many people make the mistake of slapping new adhesive weatherstripping directly over old, dirty door frames, causing it to peel off within days. To replace door weatherstripping correctly, first remove the old seal and clean the door frame thoroughly to strip away dirt and old adhesive. Then, measure the door jambs, cut the new weatherstripping to size, and secure it by pressing the adhesive back into place, inserting it into the kerf slot, or nailing it to the doorstop.
Quick answer
Identify your door frame type, strip away the old seal, clean the surface with an adhesive remover, and press or slot the new weatherstripping into place. Ensure the outdoor temperature is above 50°F if you are using an adhesive product.
- Best for modern doors: Kerf-style weatherstripping (pushes directly into a pre-cut groove).
- Best for older wooden doors: Silicone or V-strip (adheres or nails to flat frames).
- Best for quick fixes: Self-adhesive open-cell foam.
- Drafty doors and windows account for up to 30% of a home’s heating and cooling energy loss.
- A standard exterior door is 36 inches wide by 80 inches tall, requiring roughly 17 to 20 linear feet of material.
- Adhesive-backed seals require a clean, dry surface and air temperatures above 50°F (10°C) to cure correctly.
- Kerf weatherstripping pushes into a standard 1/8-inch groove milled directly into modern door jambs.
- Can you replace weather stripping on doors?
- How do you know if your door weatherstripping needs replacing?
- How do I choose the right type of door seal?
- How to remove old door weather stripping?
- How do you prep a door frame for new adhesive strips?
- How to install door weatherstripping?
- How do you replace kerf-style weather stripping?
- Why won’t my door close after installing new weatherstripping?
- What do owners say?
- Frequently Asked Questions
Can you replace weather stripping on doors?
Yes, you can easily replace door weatherstripping yourself with basic hand tools. Doing this job stops air leaks, keeps insects out, and lowers your energy bills. Drafty doors and windows can account for up to 30% of a home’s heating and cooling energy loss.
Heating a home takes a lot of power. With the US national average electricity price near $0.17 per kWh, running a space heater to compensate for a drafty hallway adds up fast. Sealing the gaps around your door frame keeps the conditioned air inside where it belongs.
How do you know if your door weatherstripping needs replacing?
Physical damage is the most obvious sign. If the rubber is cracked, missing chunks, or hanging loose, it no longer seals the door. However, some failures are harder to see. You can check for hidden drafts using two simple tests.
The Light Test: Turn off the lights inside your house during the day. Stand inside and look at the edges of the exterior door. If you see sunlight shining through the gaps between the door and the frame, the weatherstripping has failed.
The Paper Test: Open the door, place a standard sheet of paper across the weatherstripping, and close the door tightly. Pull the paper toward you. If the paper slides out easily with little resistance, the seal is too loose. Repeat this test every few inches around the top and sides of the door. The paper should tear or pull hard if the seal is doing its job.
How do I choose the right type of door seal?
Buying the right replacement material stops you from wasting time on a seal that will not fit. Standard exterior doors are generally 36 inches wide by 80 inches tall. You will need roughly 17 to 20 linear feet of weatherstripping to cover the two sides and the top.
| Material Type | Lifespan | Installation | Best For |
|---|---|---|---|
| Open-Cell Foam Tape | 1 to 3 years | Very Easy (Peel and stick) | Cheap, temporary winterizing |
| Tubular Silicone / EPDM | 10 to 15 years | Moderate (Adhesive or nails) | Long-lasting cold weather performance |
| V-Strip (Tension Seal) | 5 to 10 years | Moderate (Peel and stick) | Tight-fitting older doors |
| Kerf (Grooved) Seal | 5 to 15 years | Very Easy (Push-in) | Modern pre-hung doors with slots |
- If your door frame has a narrow slit (groove) cut into the wood where the door meets the frame, then buy Kerf weatherstripping.
- If your door frame is flat and painted, then buy Tubular Silicone or V-Strip.
- If you need an immediate fix for a few months, then buy Open-Cell Foam Tape.
How to remove old door weather stripping?
Pulling off the old material is the first step. For kerf-style seals, grab one end of the rubber and gently pull it straight out of the groove. It usually comes out in one long piece.
Adhesive-backed foam or rubber takes more work. Over time, the glue hardens and bonds strongly to the door frame. Grab the edge of the seal and peel it back slowly. If it rips and leaves chunks behind, warm the old adhesive with a hair dryer on a medium setting. The heat softens the glue, making it easier to peel away.
From the Shop
Removing decades-old, painted-over weatherstripping requires tedious scraping and often damages the paint. I have seen homeowners rip chunks of wood and paint off their door frames by pulling old V-strips too hard. Always score the painted edges with a utility knife first to break the paint seal before pulling.
Use a plastic putty knife to scrape off the stubborn leftover foam. Avoid using metal scrapers, as they easily gouge the wood and ruin the paint on your door jamb.

How do you prep a door frame for new adhesive strips?
New adhesive seals fail quickly if they stick to dirt instead of the door frame. Once the bulk of the old seal is gone, you must remove the leftover sticky residue. Rubbing alcohol, mineral spirits, or a dedicated adhesive remover works well. Dampen a rag and scrub the frame until it feels smooth.
After removing the glue, wash the door stop (the part of the frame the door rests against) with warm, soapy water to remove any chemical residue. Let the wood dry completely. Do not apply new weatherstripping to damp wood.
Temperature matters just as much as cleanliness. Adhesive-backed weatherstripping requires a clean, dry surface and air temperatures above 50°F (10°C) to cure correctly. If you try to stick cold foam to a cold door frame in January, it will peel off within days. If you must winterize during freezing weather, use a hair dryer to warm the door frame before applying the tape.
How to install door weatherstripping?
Start by measuring the top of the door frame. Cut your chosen seal to length using heavy scissors or a utility knife. Peel back the first two inches of the adhesive backing. Press the sticky side firmly against the door stop, starting at one corner.
Slowly work your way across the top, peeling the backing away as you press the seal into place. Do not stretch the material as you pull the backing tape. Stretching thin rubber or foam causes it to snap back and pull away from the corners later.
Repeat this process for the two side jambs. Cut the side pieces so they sit flush against the top piece. Ensure the seal compresses slightly when the door is closed, but not so much that the door bounces open.
How do you replace kerf-style weather stripping?
Most modern pre-hung doors use kerf weatherstripping. Kerf weatherstripping pushes into a standard 1/8-inch groove milled directly into the door jamb. It requires no adhesives and takes less than five minutes to replace.
First, measure the top groove and cut the new kerf seal to size. Press the rigid plastic flange of the weatherstripping directly into the slot. Start at one end and work your way across, pushing firmly with your thumb. It should snap securely into place.
Next, measure the side jambs. Cut the bottom of the side seals at an angle if your threshold is sloped. Push the side seals into the groove, starting from the top corner and working down to the floor. If the flange resists going into the groove, tap it gently with a small block of wood. Never use a metal hammer directly on the rubber, as it will tear the seal.
Why won’t my door close after installing new weatherstripping?
A newly sealed door will feel tighter than before. You should have to pull it slightly to latch the deadbolt. However, if you have to slam the door or put your shoulder into it, the weatherstripping is too thick.
Tubular silicone and thick rubber seals often create too much tension. If you cannot easily engage your deadbolt, you have a few options. First, check if the weatherstripping is folded or twisted inside the frame. Flatten it out if necessary.

If the seal is installed flat but the door remains too tight, you may need to adjust the strike plate on the door frame. Remove the strike plate, file the metal hole slightly wider, or move the plate a millimeter closer to the exterior. This gives the latch enough room to click into place while keeping the new seal tightly compressed against the door.
What do owners say?
Owners like
- Kerf-style replacement seals take less than 5 minutes to install and require zero tools.
- Silicone tubular seals remain highly flexible and don’t freeze to the door in harsh winters.
- Self-adhesive foam is extremely cheap and easy to cut for quick, temporary winterizing.
Common complaints
- Adhesive foam strips peel off almost immediately if the door frame isn’t perfectly clean and degreased.
- Thick rubber or V-strip weatherstripping often makes the door too tight to deadbolt easily.
- Removing decades-old, painted-over weatherstripping requires tedious scraping and often damages the paint.
Summarised from owner reviews and long-term user reports; individual experiences vary.
Frequently Asked Questions
how to replace door weather stripping?
To replace the stripping, peel or pull the old seal out of the door frame. Clean the wood thoroughly with an adhesive remover and wash it with soap and water. Measure the frame, cut your new weatherstripping to length, and either press the adhesive backing onto the flat frame or push the flanged edge into the door’s pre-cut groove.
can you replace weather stripping on doors?
Yes. Replacing weatherstripping is a straightforward DIY task that requires very few tools. The materials are affordable at any local hardware store, and updating the seals can significantly lower your heating and cooling costs.
how do you replace door weather stripping on modern doors?
Most modern doors use a kerf-style system. You do not need glue or nails. Simply grab the old rubber seal and pull it out of the thin groove in the door jamb. Take your new kerf weatherstripping, align the hard plastic edge with the groove, and push it in firmly with your fingers.
how to install door weatherstripping if it is cold outside?
Adhesives fail in cold temperatures. If you must use adhesive-backed tape in winter, use a hair dryer to heat both the door frame and the sticky back of the tape as you apply it. This softens the glue and allows it to bond. Alternatively, choose a nail-on weatherstripping or a kerf-style seal, which do not rely on temperature-sensitive glue.
how replace door seal on the hinge side?
The hinge side of a door often has a tighter gap than the latch side. When placing adhesive weatherstripping on the hinge side, apply it to the door stop (the trim the door hits when closed), not the inside of the jamb. This ensures the door compresses the seal flat when closing, rather than sliding against it and tearing it off.