
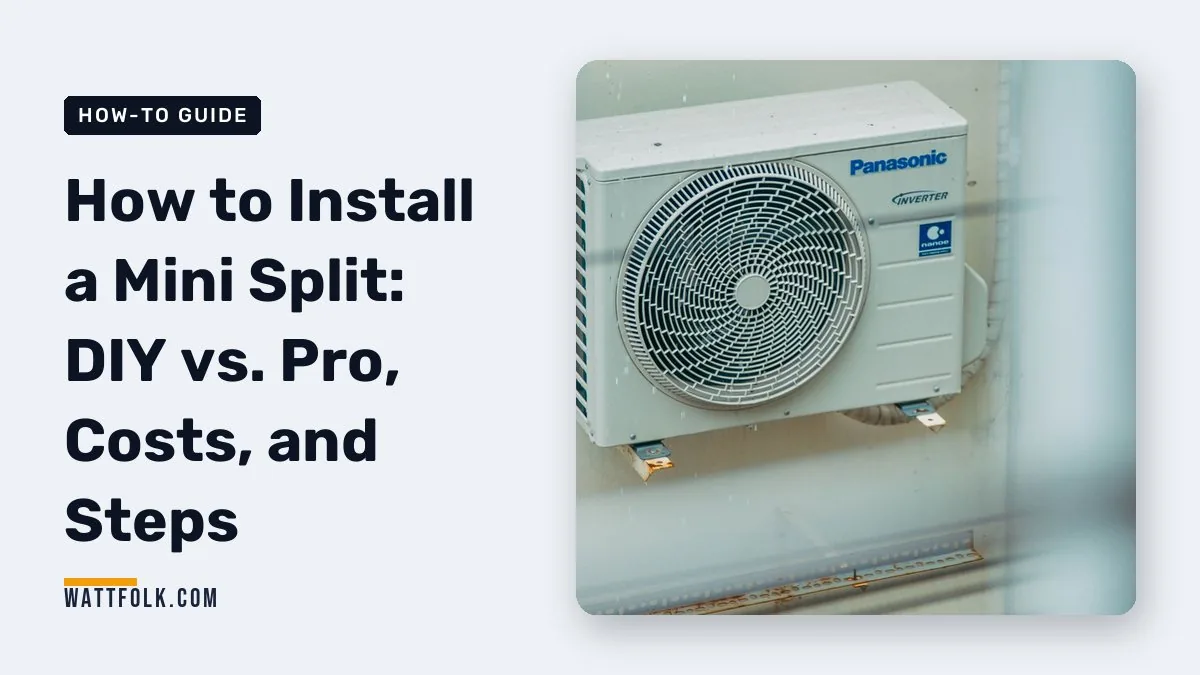
Many homeowners buy a standard mini split online expecting an easy weekend project, only to realize they lack the specialty HVAC tools needed to actually finish the job. Installing a mini-split involves mounting an indoor air handler, drilling a 3-inch hole through the exterior wall, placing the outdoor condenser, and connecting refrigerant lines and electrical wiring. While capable DIYers can install specialized “quick-connect” systems themselves, standard systems require an EPA-certified technician with a vacuum pump to handle the refrigerant, plus a licensed electrician to install the dedicated 110V or 220V circuit.
Quick answer
If you want to save thousands on labor, purchase a DIY-specific system with pre-charged, quick-connect lines that do not require vacuuming. If you buy a standard mini split from brands like Mitsubishi or Daikin, you must hire an EPA-certified professional to complete the refrigerant connections and preserve your 10-to-12-year warranty.
- Best for handy homeowners: DIY quick-connect systems (e.g., MRCOOL)
- Best for maximum reliability: Standard systems installed by an EPA-certified HVAC pro
- Standard installations require a vacuum pump to pull the lines down below 500 microns, removing moisture that destroys compressors.
- Most standard warranties are completely voided if the system is not installed by an EPA-certified professional.
- Electrical work is a major hidden cost; you will need an outdoor disconnect box to meet the National Electrical Code (NEC).
- A 3-inch hole must be drilled through your exterior wall at a slight downward pitch to ensure proper water drainage.
- Can I install a mini split myself?
- What is needed to install a mini split?
- What wiring is required for a mini split?
- Can you install a mini split without a vacuum pump?
- Is installing a mini split difficult?
- Why are mini splits so expensive to install?
- Who can install mini splits and what companies offer this?
- What do owners say?
- Frequently Asked Questions
Can I install a mini split myself?
Yes, you can install a mini split yourself, but only if you choose the right type of equipment. The market offers two entirely different types of mini splits: DIY quick-connect systems and standard flare-connection systems. Understanding the difference between the two dictates whether this is a weekend project or a job for a professional.
DIY systems use proprietary sealed line sets. The copper pipes come from the factory already filled with the correct amount of refrigerant and capped securely. When you connect the lines to the indoor and outdoor units and tighten the nuts, a specialized pin breaks the seal, allowing the refrigerant to flow. You do not need to cut pipes, flare ends, or use a vacuum pump.
Standard systems are different. The outdoor unit contains all the refrigerant. The copper lines you buy are hollow, full of regular air and moisture. To install these, you must cut the pipes to length, create perfectly smooth flared ends, connect them, and use a vacuum pump to suck all the air and moisture out before releasing the refrigerant. If you get this wrong, the refrigerant leaks out, or moisture mixes with the refrigerant oil to create an acid that destroys the compressor.
- If you buy a pre-charged quick-connect system: You can mount the units, run the lines, and finish the job yourself. You may still need an electrician for the main panel connection.
- If you buy a standard mini split: You can mount the indoor and outdoor units to save on labor, but you must hire an EPA-certified technician to flare the lines, vacuum the system, and release the refrigerant.
DIY vs. Standard Installation Comparison
| Feature | DIY Quick-Connect Systems | Standard Mini Splits |
|---|---|---|
| Line Sets | Pre-charged, sealed, fixed lengths | Empty copper, cut to exact size needed |
| Vacuum Pump Needed? | No | Yes (Mandatory) |
| Flaring Tool Needed? | No | Yes (Mandatory) |
| Warranty Status | Honored for DIY installation | Voided if not installed by EPA Pro |
| Labor Costs | $0 (DIY) + Electrician if needed | $1,000 – $3,000 for HVAC Pro |
What is needed to install a mini split?
The tools and materials needed depend heavily on whether you are installing a quick-connect system or a standard unit. Every installation requires basic construction tools: a stud finder, a level, a drill, a 2.5 to 3-inch hole saw for the wall penetration, adjustable wrenches, and a set of Allen wrenches.
If you are attempting a standard installation, you will need a specialized set of HVAC tools. You cannot skip these without ruining the equipment.
- Vacuum Pump: Used to remove air and moisture from the copper lines.
- Micron Gauge: Measures the deep vacuum accurately. Analog manifold gauges are not precise enough to confirm moisture removal.
- Flaring Tool: Shapes the ends of the cut copper tubing into a 45-degree cone to create a seal. Eccentric flaring tools are best for mini splits.
- Torque Wrench: Mini split valves require exact tightness. Over-tightening crushes the flare; under-tightening causes leaks.
- Nylog Blue: An HVAC gasket sealant applied to the flare faces to ensure a leak-proof connection.
- Nitrogen Tank and Regulator: Used to pressure-test the lines for leaks before opening the refrigerant valves.
What wiring is required for a mini split?
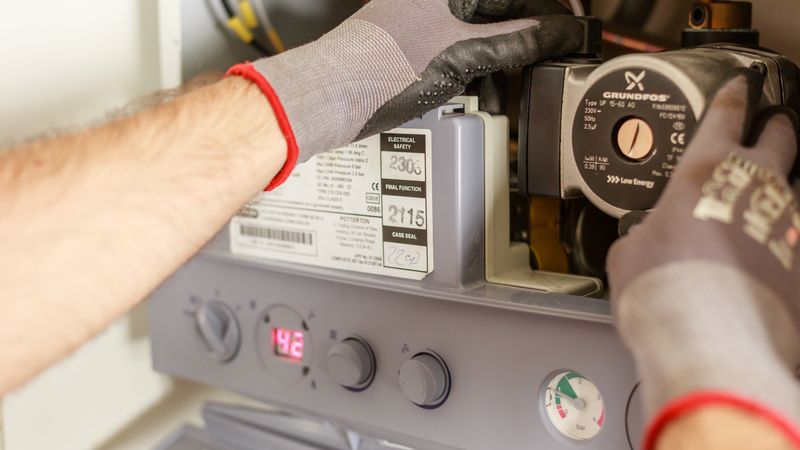
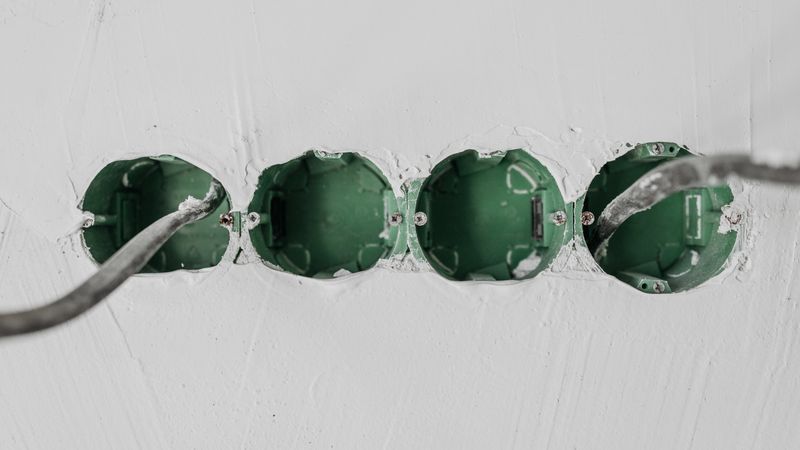
Electrical requirements are often the most overlooked part of a mini split installation. You cannot simply plug a permanent mini split into a standard wall outlet. They require dedicated electrical circuits wired directly back to your main breaker panel.
Most multi-zone or larger single-zone mini splits require a dedicated 220V/240V electrical circuit. Some smaller 9,000 to 12,000 BTU units can run on a dedicated 110V/120V circuit. Regardless of the voltage, the wiring path is the same. Power runs from a dedicated breaker in your main electrical panel to an outdoor disconnect box mounted near the condenser. From the disconnect box, a flexible, weather-tight conduit (called a whip) carries the power into the outdoor unit.
The outdoor unit then powers the indoor unit. A specialized communication wire (usually 14/4 stranded wire) runs alongside the copper refrigerant lines from the outdoor condenser to the indoor air handler. This wire provides both electricity and the digital signals needed to control the fan and temperature.
Can you install a mini split without a vacuum pump?
You can only install a mini split without a vacuum pump if you purchase a DIY system with pre-charged, quick-connect line sets. If you buy a standard mini split, skipping the vacuum pump will destroy your system.
Standard refrigerant lines contain atmospheric air. Air holds moisture. If you release the system’s refrigerant into lines filled with air, two things happen. First, the non-condensable gases (like nitrogen and oxygen in the air) take up space in the system, causing high head pressure and drastically reducing the unit’s heating and cooling efficiency. Second, and far worse, the moisture in the air mixes with the synthetic POE oil used in modern mini split compressors. This chemical reaction creates an acid. The acid eats away at the compressor’s motor windings from the inside out, leading to electrical shorts and catastrophic failure.
Standard refrigerant lines must be vacuumed down to under 500 microns. At this deep vacuum pressure, water boils at room temperature, turning into a vapor that the pump sucks out of the system.
From the Shop
We frequently see homeowners who try to bleed standard lines by just cracking the refrigerant valve and letting it push the air out. This old-school method is illegal under EPA rules, loses expensive refrigerant, and does not remove the moisture. The system might blow cold air for a few months, but the compressor usually burns out before the end of the first year.
Is installing a mini split difficult?
For someone with basic carpentry and tool skills, the physical installation of the components is highly manageable. The difficulty spikes when handling the electrical panel work and the standard refrigerant connections.
Here is a step-by-step overview of what the process actually looks like.
1. Mounting the Indoor Air Handler
You begin by securing a metal mounting bracket to the wall inside your room. This bracket must be perfectly level and anchored firmly into wall studs. The indoor unit is surprisingly heavy, usually weighing between 25 and 40 pounds. If it is not level, the condensation pan will not drain correctly, leading to water dripping down your drywall.
2. Drilling the Wall Penetration
Next, you must drill a 2.5 to 3-inch hole completely through your exterior wall to connect the indoor and outdoor units. This hole must have a slight downward pitch toward the outside. Gravity drives the condensation drain tube. If the hole pitches upward, water flows backward into your house.
3. Placing the Outdoor Condenser
The outdoor unit needs a stable home. It can sit on a poured concrete pad, a heavy plastic HVAC pad on leveled gravel, or be mounted to the exterior wall using heavy-duty steel brackets. Wall brackets keep the unit above deep snow lines in colder climates but can sometimes transfer vibration noise into the house.
4. Running the Lines and Wires
You push the copper refrigerant lines, the condensation drain tube, and the communication wire through the 3-inch hole. You connect them to the indoor unit, then bend them gently down the side of the house to the outdoor condenser. Copper kinks easily. If you fold a line too hard, it restricts the refrigerant flow, and you have to replace the entire line set.
5. Final Connections
For DIY systems, you bolt the quick-connect fittings together. For standard systems, this is the point where the HVAC technician steps in to flare the lines, run the nitrogen pressure test, pull the vacuum, and release the refrigerant. Finally, the electrician wires the disconnect box and turns on the power.
Why are mini splits so expensive to install?
Professional installation labor for a single-zone system typically ranges from $1,000 to $3,000, and that usually excludes the cost of the dedicated electrical circuit. The high cost comes down to specialized labor, required licensing, and liability.
To understand the real-world financial impact, let us look at a worked example comparing a DIY approach to a full professional installation. In this scenario, we are installing a 12,000 BTU system to cool and heat an addition.
- Professional Installation Cost: A quality standard single-zone unit costs about $1,500. The HVAC company charges $2,000 for labor, line sets, mounting brackets, and overhead. A licensed electrician charges $1,000 to pull a permit, run a new 220V circuit from your basement panel to the exterior wall, and install the disconnect box. Total cost: $4,500.
- DIY Quick-Connect Cost: You purchase a DIY 12,000 BTU system for $1,500. This includes the pre-charged lines and basic mounting hardware. You spend another $200 on materials (exterior line covers, a wall bracket). You do all the physical mounting. You hire an electrician to handle the main panel connection for $1,000. Total cost: $2,700.
The savings are substantial. However, mini splits are incredibly efficient. Across the United States, the average price of electricity is roughly 17 cents per kWh. Replacing expensive electric baseboard heating or inefficient window AC units with a mini split drops your monthly power consumption dramatically. A $4,500 professional installation takes longer to pay off in energy savings than a DIY job, but it comes with a 10-to-12-year warranty and peace of mind.
Who can install mini splits and what companies offer this?
While general contractors and handymen often offer mini split installation, major manufacturers like Mitsubishi, Daikin, and Fujitsu generally require installation by an EPA-certified technician to honor their warranties.
The EPA Section 608 certification is a legal requirement in the United States for anyone handling, recovering, or purchasing regulated refrigerants. Most local HVAC companies, heating and cooling specialists, and plumbing companies with HVAC divisions offer mini split installations.
When getting quotes, confirm that the company handles the electrical work in-house or coordinates directly with an electrical subcontractor. Many HVAC companies will install the unit but leave you scrambling to find an electrician to provide power before they can test the system.
What do owners say?
Owners like
- Extremely quiet operation both indoors and outdoors compared to window units.
- Noticeable and drastic reduction in monthly heating/cooling bills.
- Precise temperature control for individual rooms.
- DIY pre-charged systems actually work as advertised for handy homeowners.
Common complaints
- Hidden electrical costs because an electrician was needed to run a new 220V line.
- Exterior line set covers are bulky and can look ugly on the side of the house.
- Flaring copper lines perfectly is frustrating and prone to micro-leaks for beginners.
- Manufacturers denying warranty claims for parts because the owner couldn’t provide a professional installation invoice.
Summarised from owner reviews and long-term user reports; individual experiences vary.
Frequently Asked Questions
how install mini split?
To install a mini split, you must mount the indoor air handler securely to wall studs, drill a 2.5 to 3-inch hole through the exterior wall for the tubing, and mount the outdoor condenser on a solid base. You then route the copper refrigerant lines, condensation drain, and communication wire between the units. DIY systems use quick-connect fittings, while standard systems require an HVAC professional to flare the copper lines and pull a deep vacuum before releasing the refrigerant.
what wiring for mini split?
Most large single-zone and multi-zone mini splits require a dedicated 220V/240V circuit wired back to your main electrical panel. Smaller units (typically 9,000 to 12,000 BTU) may run on a dedicated 110V/120V circuit. In both cases, the National Electrical Code requires an outdoor disconnect box mounted near the condenser. A 14/4 stranded communication wire also runs between the outdoor and indoor units to provide power and control signals.
what’s needed to install mini split?
You need basic construction tools like a drill, stud finder, level, and a 3-inch hole saw. If you are installing a standard system, you absolutely must have specialty HVAC tools: a vacuum pump, a micron gauge, an eccentric flaring tool, a torque wrench, and a nitrogen tank for pressure testing. DIY quick-connect systems bypass the need for the specialty HVAC tools.
can i install mini split myself?
Yes, you can install a mini split yourself if you purchase a DIY-specific system with pre-charged, quick-connect refrigerant lines. If you purchase a standard system, you can perform the physical mounting of the units, but you must hire an EPA-certified technician to finalize the refrigerant lines and a licensed electrician to handle the dedicated power circuit.
can you install mini split without vacuum pump?
You can only skip the vacuum pump if you buy a DIY system with pre-charged sealed lines. For all standard mini splits, installing without a vacuum pump will trap moisture inside the system. This moisture reacts with the refrigerant oil to create an acid that destroys the compressor, resulting in a costly and catastrophic failure.
what companies install mini splits?
Local HVAC companies, heating and cooling contractors, and plumbing companies with dedicated HVAC divisions typically install mini splits. Always hire a company with EPA-certified technicians, as major manufacturers require professional installation to validate the 10-to-12-year equipment warranties.
why install a mini split?
Mini splits offer incredibly quiet operation and precise temperature control for individual rooms. Because they do not rely on ductwork,which typically loses 20 to 30 percent of conditioned air to leaks,they are exceptionally energy efficient. This efficiency translates to a massive reduction in monthly heating and cooling bills compared to window units or electric baseboard heaters.